Solar System Installation Guide
Solar Pre-Installation Process
These are the steps that you have to consider before installing a solar system. The steps are mention below.
Step – I. Know Your Electricity Usage
This is the first most step in pre-installation of a solar system. With these details you have and idea of Solar installation guide. Here you need to calculate your required electricity usage. Gathering your old electricity bills are the easiest way to calculate the consumption. You can also calculate it by combining your electrical appliance’s power consuming capacity. You can calculate as per below chart.
| Electronic | W | Hrs | Qnt. | Daily Use (kWh) | Monthly Use (kWh) |
| LED Bulb | 20 | 4 | 1 | 0.08 | 5.00 |
| Fan | 350 | 2 | 1 | 0.70 | 21.00 |
| Television | 60 | 2 | 1 | 0.12 | 3.60 |
| Refrigerator | 250 | 24 | 1 | 2.00 | 60.00 |
| Washing machine | 1000 | 4 | 1 | 4.00 | 16.00 |
| Air Conditioner 1 | 2900 | 6 | 1 | 13.92 | 417.60 |
| Electric Water Heater | 3500 | 0.25 | 1 | 0.88 | 26.25 |
| Electric Iron | 40 | 2 | 1 | 0.08 | 2.40 |
| Tumble Dryer | 1300 | 4 | 1 | 5.20 | 20.80 |
| Vacuum Cleaner | 650 | 1 | 1 | 0.65 | 2.60 |
| Electric Oven | 100 | 0.5 | 1 | 0.05 | 1.50 |
| Microwave | 60 | 3 | 1 | 0.18 | 5.40 |
| Electric Kettle | 60 | 3 | 1 | 0.18 | 5.40 |
| Rice Cooker | 200 | 2 | 1 | 0.40 | 12.00 |
| Toaster | 200 | 0.25 | 1 | 0.05 | 1.50 |
| Dishwasher | 1200 | 0.5 | 1 | 0.60 | 18.00 |
Once you will get to know you monthly usage, you can easily calculate and decide your solar installation capacity.
Step II- Measure Your Roof Area
Measure your available roof space facing south, SW, and west. There are several ways to do this, but the easiest is just to get an installer give you a free quote. You can also use google earth, or simply get out on your roof with measuring tape.
Step – III. Structural review
After calculating your load consumption you will have to choose a type of solar system. In solar PV system, there are three types of solar system.
- On grid solar system :- With grid tie facility
- Off grid solar system :- With battery backup facility
- Hybrid solar system :- Both grid tie and backup facility
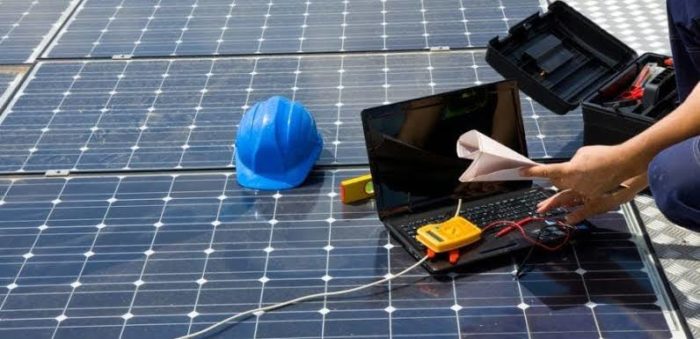
Step – IV. Site visit and road mapping by solar experts
After calculating power usage and choosing the best solar system type that fits you requirement, now it’s turn for site visit. For site visiting purpose you can go for solar expert or also can contact us. After testing the installation site, solar experts will finalize the following.
 How many solar panels will be installed?
Now you know how much roof you have available for solar panel, Solar installation guide and how big of a system you need. Now you need to determine what size panels you will need to cover your electricity usage while staying within the space you have available.
Which type of solar panel should be installed?
Know about: Types of solar panel
 What is your roof direction?
Grab a compass or check google maps and figure out which way is south. Go outside, look at your roof and see how much roof space is facing south, southwest, east and west. The more south the better it is, but west is actually okay.
Step – V. Finalize the solar panel location (By Solar Expert)
This is the last step of pre installation process. This step is followed by solar experts. In this step, solar experts will decide:
- The gap of solar panels from nearby objects.
It is recommended that solar panels must be installed twice away from the height of object situated nearby. Once you should check it yourself.
- Space between the two rows of solar panel.
It should be pre calculated that the distance between two rows of solar panel will be how much. So the shadow of first row couldn’t cover another row’s solar panel.
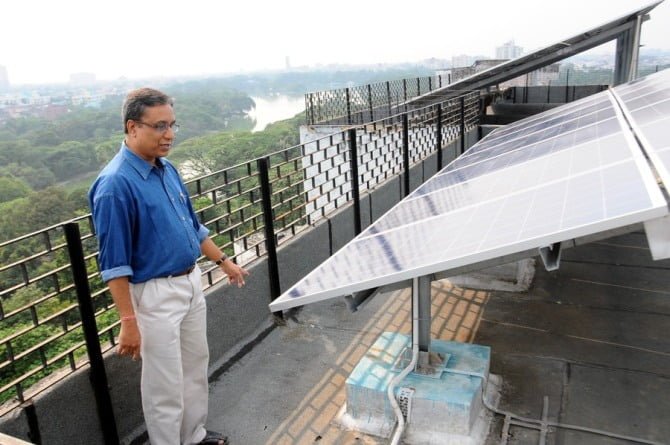
- The best angle to mount the solar array.
In India the installing angles might be change according to geological area. There are zones which define the installation angles for solar panel.
Zone – 1: Himachal Pradesh, J&K, Punjab, Uttarakhand – 30-360
Zone – 2: Rajasthan, Delhi, UP, Haryana, Bihar, North EASTERN STATES – 24-300
Zone – 3: Gujarat, MP, Jharkhand, West Bengal, Maharashtra, Chhattisgarh, Orissa – 18-240
Zone – 4: Karnataka, Tamil Nadu, AP, Telengana, Kerala – 12-180
Equipment Needed for Installation
For installing a solar system, following equipment will be needed. We recommended you to get installed by a solar installation company.
| Sr. No. | Equipment |
| 1. | System service logbook |
| 2. | Datasheet & O&M manual |
| 3. | A hand drill or DC operated electric drill |
| 4. | Digital Voltmeter |
| 5. | Wrenches (Specific sizes) & All Mounting Bolts |
| 6. | Measuring tape (25m) |
| 7. | Screw Drivers: flat Blade |
| 8. | Electrical Tape |
| 9. | DC soldering iron |
| 10 | Hammer |
| 11. | Miscellaneous for connections: Split bolts, wire nuts, lugs, solder-less connectors |
| 12. | Compass and Sun Pathfinder |
| 13. | Nut drivers 1/4in and 5/16in14 |
| 14. | Tilt Angle indicator, or plumb line and protractor |
| 15. | Wire Crimping, Stripping and Cutting Tool |
| 16. | Hacksaw |
| 17. | Safety goggles & Rubber gloves |
Solar System Installation Process
The installation process is the main crux of any installation guide. For installing a solar system, you need to follow the steps mentioned below.
Step – I. Installation of mounting structure
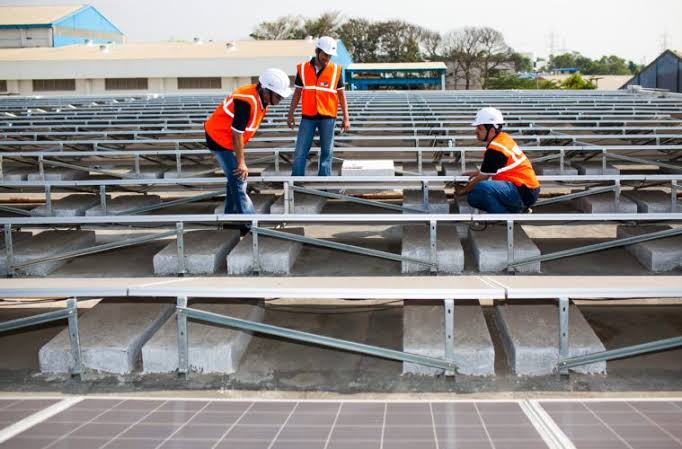
To install the mounting structure is the main and a little tricky kind of work. Solar installation guide is necessary before install. The mounting structure may be different according to installing space. For rooftop installation, railed, rail-less and ballasted mounting structure are used. For ground installations, single pole, multi pole mounting structures are there. Firstly, the foundation has been prepared. There are many kind of foundations, depending upon your surface type. After foundation, the structure will be installed. Various size nut-bolts, crimping tools, drilling machines are used for this purpose.
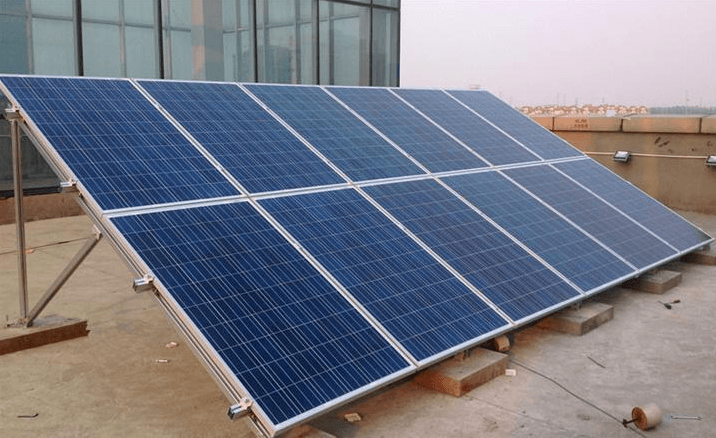
Step – II. Solar panel installation and parallel connections
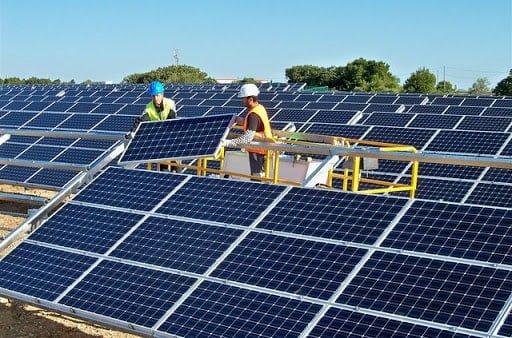
After installing the mounting structure, now its turn to install solar panel. For installing solar arrays we suggest you to hire an experienced installer. The PV modules will be installed on mounting structure with the help of nut-bolts, soldering, tie up cables, etc. Our company also give Solar installation guide.
After fixing all PV modules they will be connected together through parallel connections. The panels will generate more power if they will be combined together.
Step – III. Battery Installation
The third step is to install the solar battery. This battery will provide you power backup. While installing solar battery, following points should be keep in mind.
- Battery should be optimum in size or according to your required power backup. Never use over or under size battery in a solar system.
- Install the solar battery on dry and flat surface.
- Always install a branded solar battery. If possible, avoid local batteries.
- While connecting it with load or inverter always use good quality cables.
Step – IV. Inverter Installation
When you installed solar panel and solar battery, then accordingly install the solar inverter. There are many types of solar inverter. You should install a solar inverter comparing it with your requirements. While installing a solar inverter, follow the basic security steps.
- Install it at a dry and well ventilated place.
- Keep your solar inverter near to solar battery.
- Make proper earthing at the time of installation.
- Use quality cables for connections.
Step – V. Electrical Connections/Wirings (With Load & Grid)
This is the last step of installation process. In this step we will connect our electrical appliances and utility grid with the solar system. Connections should be done by a professional. After the connection will done than you can use the solar power to run your appliances.
Solar System Post-Installation Steps
Post installation steps are necessary to maintain the efficiency of a solar system. Here we categorized the maintenance process in three parts.
Weekly maintenance

The solar panel should be clean on weekly basis. This will maintain the efficiency of the solar panel. For cleaning the solar panels you can use the solar panel cleaning kit.
Monthly Maintenance
Solar battery should be checked on monthly basis. Every month you should check the electrolyte level in the battery (in case you installed lead acid battery). Also check whether any new load have been added in existing capacity.
Annual Maintenance
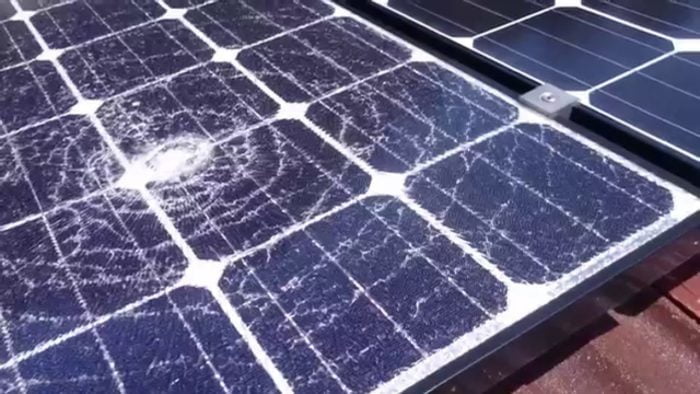
On annually basis, you should check solar array and wiring for physical damage. When you want to install solar you need solar installation guide. Check that the mounting structure is tight enough. Clean the solar inverter (remove dust or dirt). This all will help you to increase the working capacity as well as working life of your solar system.
[Visit Our Online Store]
-
Sale!

Kenbrook Solar 6 Meters Long Solar Cleaning Kit with Nylon Brush, Water Fed PU Pipe & Adjustable Telescopic Extension Pole from 2 to 6 Meters
Original price was: ₹ 9,010.00.₹ 3,459.00Current price is: ₹ 3,459.00. (Inclusive of All Taxes) Add to cart -
Sale!

Kenbrook Solar 8.2 Meters Long Solar Cleaning Kit with Nylon Brush, Water Fed PU Pipe & Adjustable Telescopic Extension Pole from 2.4 to 8.2 Meters
Original price was: ₹ 14,999.00.₹ 4,460.00Current price is: ₹ 4,460.00. (Inclusive of All Taxes) Add to cart -
Sale!

Kenbrook Solar 2 Meter Carbonite Copper Bonded Lightning Arrester Solid Rod 14.2MM Diameter & 5 Spikes
Original price was: ₹ 2,999.00.₹ 1,099.00Current price is: ₹ 1,099.00. (Inclusive of All Taxes) Read more
Top Solar Brands in India
We deals in all reputed solar brands Including Tata Solar, UTL Solar, Luminous Solar, Sukam Solar, Havells Solar Solaredge, Microtek Solar, Exide Solar, Waaree Solar, Vikram Solar, Jakson Solar, Lubi Solar, Delta Solar Inverter, ABB Solar Inverter, Consul Neowatt Solar Hybrid Inverters. [logoshowcase]